The Survey module is where you bring drone and field survey data into eLandfill. Each survey is tied to a date and can hold one or more data items: orthomosaic and gas-concentration GeoTIFF rasters, walking gas survey measurements (CSV) and GPS point surveys (CSV). During import, raster files are analysed, reprojected and compressed for optimal display on the platform's maps.
Data uploaded here is used across the platform: rasters appear as selectable layers on the map pages, and the elevation surfaces derived from your surveys power the Topography module (map swipe comparison, 3D terrain and volume calculations).
¶ What you can upload
| Type (as shown in the upload dialog) | File format | What it is |
|---|---|---|
| orthomosaic | GeoTIFF (.tif / .tiff) | Aerial/drone orthophoto of the site |
| concentration | GeoTIFF (.tif / .tiff) | Gas concentration raster |
| concentration_max | GeoTIFF (.tif / .tiff) | Maximum gas concentration raster |
| concentration_min | GeoTIFF (.tif / .tiff) | Minimum gas concentration raster |
| Walking gas survey in csv format | CSV | Point measurements from a walking gas survey |
| GPS Survey (x, y, z) | CSV | Surveyed GPS points with elevation |
¶ Create a survey
On the main page of the Survey module, click Create.

Select the date the survey took place and click Save. A survey is identified by its date, so only one survey can exist per date — if you pick a date that already has a survey you will get the message "Survey already exists at that date".
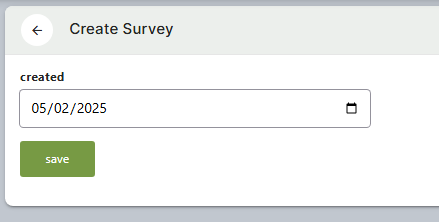
The new survey now appears in the list, with 0 files attached. The next step is to add data to it.

¶ Add data to a survey
Open the survey with the edit (pencil) button and click Add item / Upload new survey data.

Choose the type of data and select the file to upload.
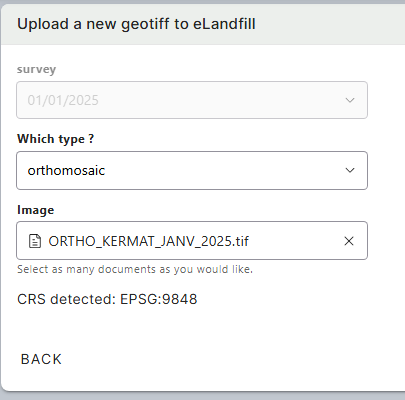
¶ GeoTIFF rasters (orthomosaic and concentration types)
The coordinate system is read automatically from the GeoTIFF metadata — you will see "CRS detected: …" when the file is valid. If you instead see "No CRS detected", the file is missing its coordinate reference system: set the CRS in the GeoTIFF metadata (for example in QGIS or your drone-mapping software) before uploading.
¶ Walking gas survey (CSV)
The CSV must contain the columns date_time, CH4_ppm, CO2_ppm, latitude and longitude. Use the Download CSV Template button in the dialog to get a correctly formatted starting file. You also pick the coordinate system (EPSG code) of your data; the platform transforms everything to EPSG:3857 for display. The file is validated before upload and any missing columns are listed.
¶ GPS Survey (x, y, z) (CSV)
The CSV must contain the columns NAME, X, Y and Z. Every NAME must be unique and no values may be empty. A Download GPS Survey Template button is available in the dialog. As with the gas survey, you select the EPSG coordinate system of your data and it is transformed automatically.
¶ Upload and processing
Click Upload survey to start.

First the file is transferred to the platform — a progress bar shows the upload.
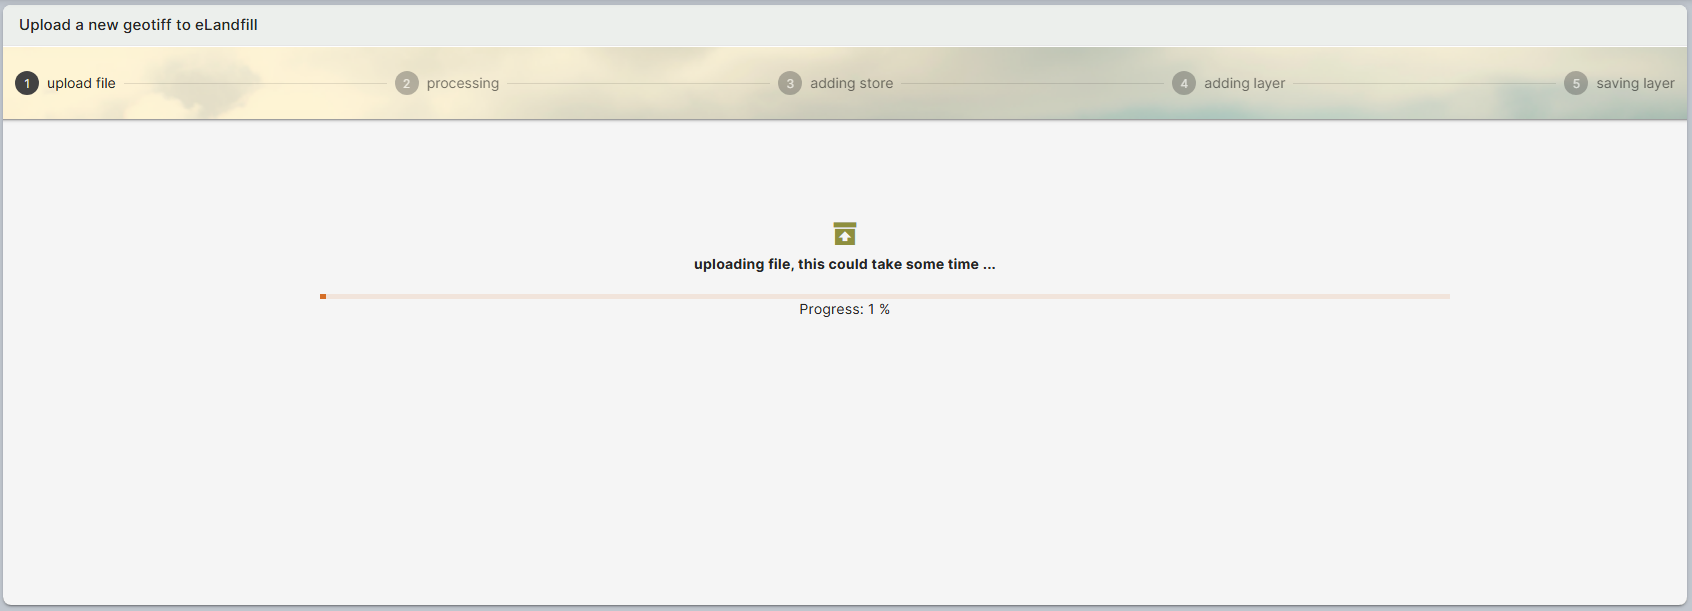
Keep the tab open until processing is complete. After the transfer, the platform processes the file. For GeoTIFFs this means analysing and reprojecting the image and publishing it as a map layer; processing time depends on the size of the file. For CSV imports you will see live progress with the number of rows imported and an estimated time remaining.
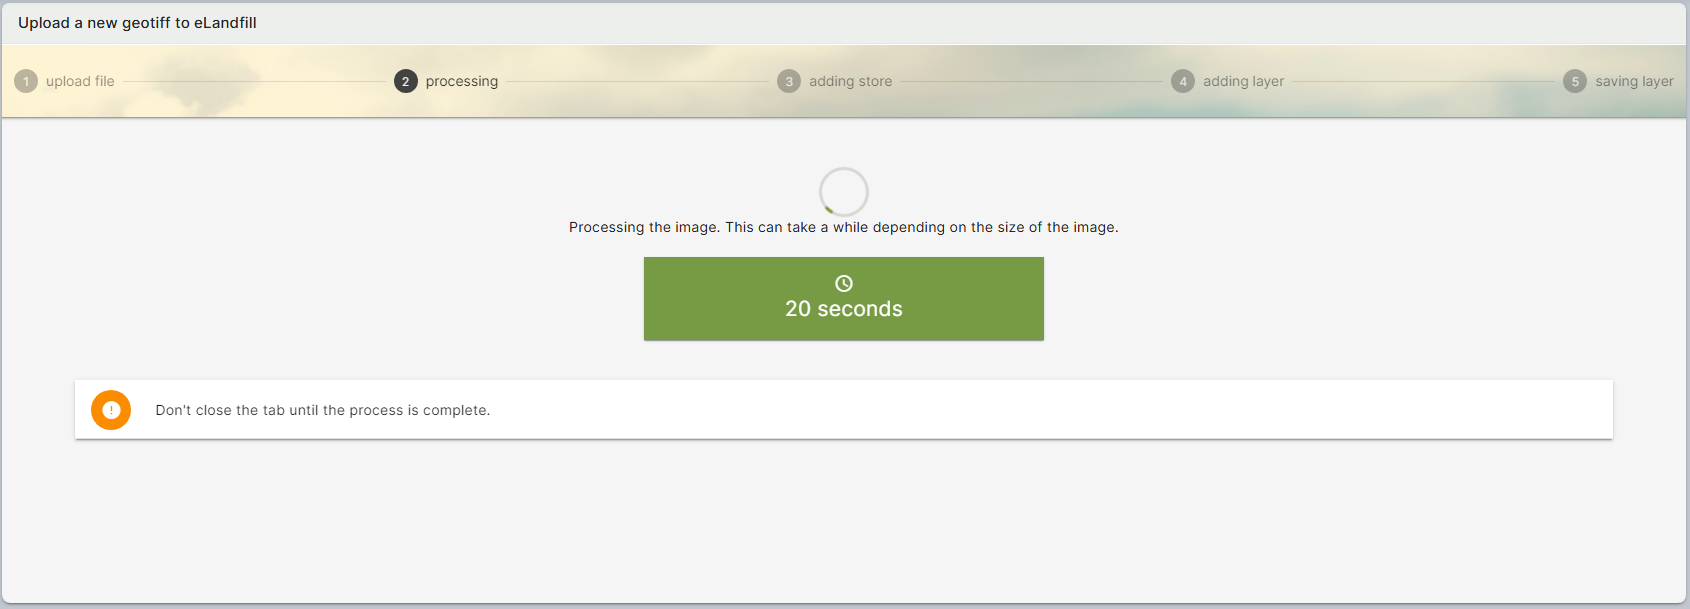
When processing finishes you will see a confirmation. CSV imports also show an Import Report with the number of rows imported, any invalid rows, and details of errors if there were any.
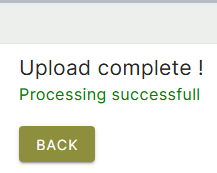
Back on the survey list, the file count of the survey has increased, and the data is now available on the platform's map pages.

¶ If the upload fails
- GeoTIFF: check that the file is properly georeferenced (CRS present in the metadata) and is a valid .tif/.tiff.
- CSV: check the required columns listed above, and for GPS surveys make sure every NAME is unique with no empty values. The error screen and Import Report list what went wrong.
- If you cannot see the problem, contact support and include the error message shown on the Upload Failed screen.
¶ View survey data
Open a survey with the view (eye) button to see its details. Each uploaded item appears as a chip, grouped into Raster Data, Gas Surveys and GPS Surveys. Click a chip to preview that layer on the embedded map. For GPS surveys, hovering over a point shows its name and elevation.
Uploaded rasters are also available as layers on the different map pages of the platform, and surveys with elevation data feed the Topography module's comparison and volume tools.
¶ Edit and delete
- Change the date: open the survey with the edit (pencil) button and pick a new date.
- Delete a single item: in the edit view, open an item's chip and choose Delete Resource. This removes the layer (and, for CSV/GPS items, the imported data points).
- Delete the whole survey: use the red Delete button in the edit view. This removes the survey and all of its layers and data.
Deletions cannot be undone — a confirmation dialog is shown before anything is removed, and there is no way to download uploaded files back out of the platform, so keep your original files.
¶ Permissions
Editing a survey — which includes uploading data and deleting items — requires the Survey management permission. If the edit button is greyed out for you, ask your site administrator to grant you access. See also Roles and Access.